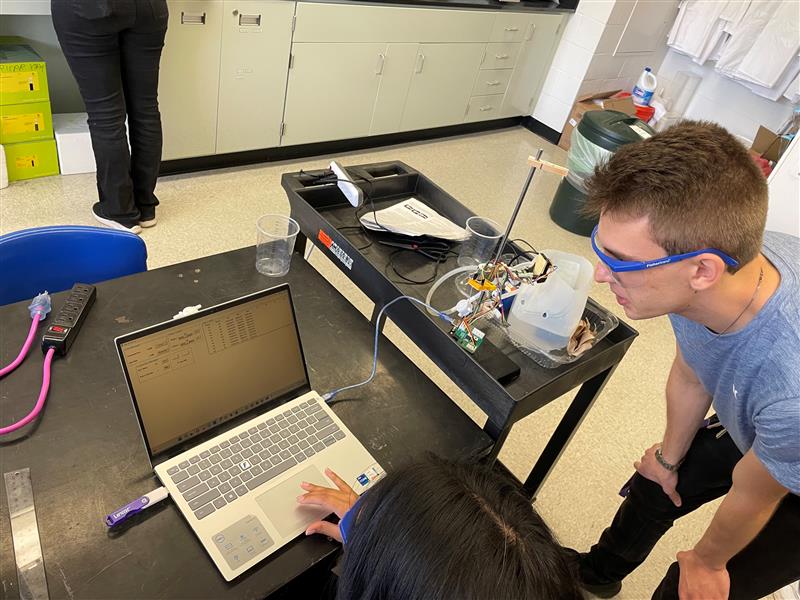
Today is FDR! We’ve put a lot of effort into this project for the last 8 months, so we’re proud to show off what we’re doing today!
Today is FDR! We’ve put a lot of effort into this project for the last 8 months, so we’re proud to show off what we’re doing today!
We’ve been planning this survey for the past couple of weeks, and we finally did it! We got a lot of positive feedback, so the team is incredibly proud of what we did over the course of these two semesters. The purpose of these surveys was to quantify our work with the students, and the survey was crafted so that we could do just that. We utilized a Likert scale to help quantify our results, which are going into our final design report (FDR). After the survey, we re-recorded a 2-minute video that is now in the form of a skit. Our liaison, Dr. Merida, gave us a great template for our poster as well, so we are going to use that where we tell a story about our project. Stay tuned for more, we have one more week!

The semester is coming to a close, and this week we are preparing for FDR and the final phases of the project/IPPD. We have the following: a 2 minute video on our project, FDR volumes 1-5, our poster, and creating videos for step by step to soldering the PCB! It doesn’t sound like a lot since it’s only 4 things, but our plate is very much full. The last phase of prototyping is the final survey, which got moved to April 14. We are currently preparing and the data will go into FDR. Stay tuned for more!
This week, we pretty much finished the project! At least the hardware and software sections of the project. We still have one more survey to run and construct the FDR (final design report). We completed our final PID, which was incredibly successful. This week, we plan to do the following:
Stay tuned for more!
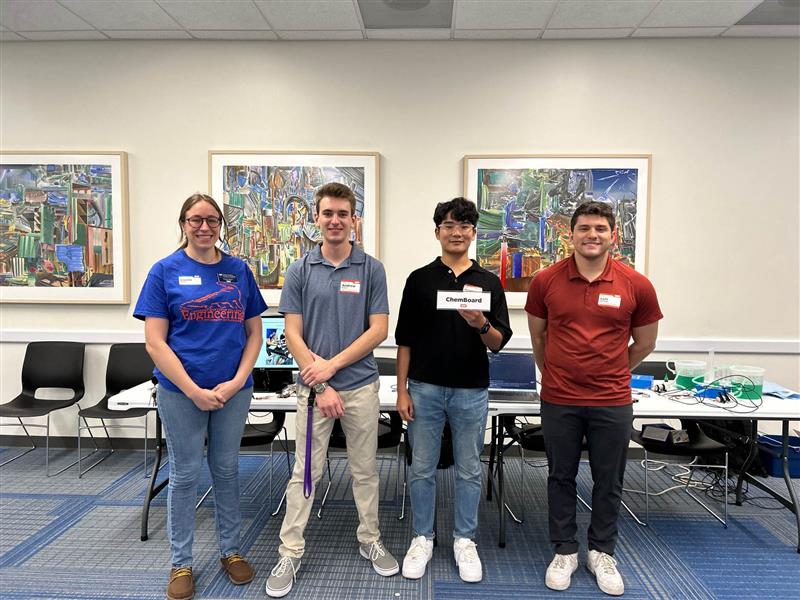
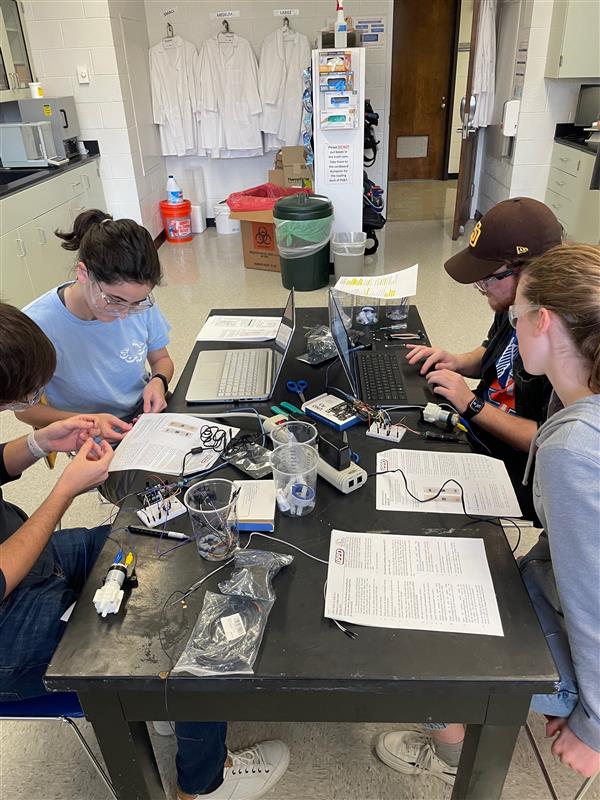
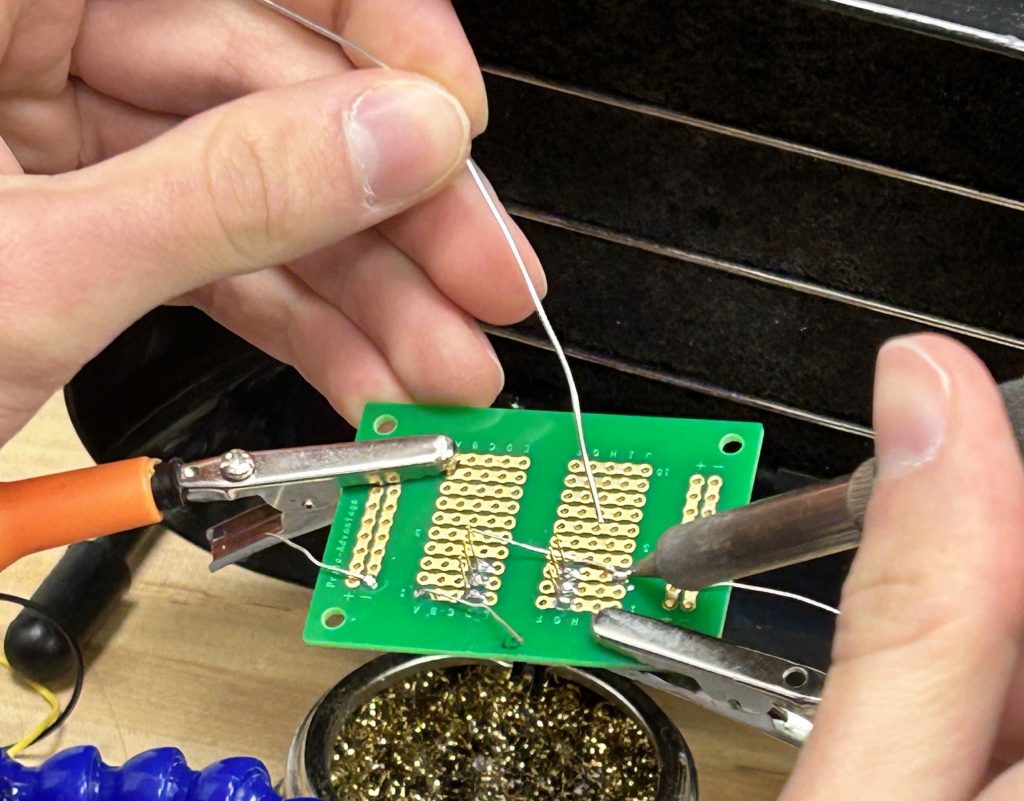
This week was incredible for us! Andrew soldered PCB 3 and tested it with all connections, meaning we have everything for hardware! We now are moving onto waterproofing, and we are thinking of putting the Arduino and PCB into a 3D printed box with space to take the sensors out. More information will come about this shortly.
Version 3 of the GUI is nearly complete as well, which has lots more features than version 2, which was already more than a step above the first iteration shown in the blog a couple of weeks ago. Overall, we are very close to finishing the project! Stay tuned for more!
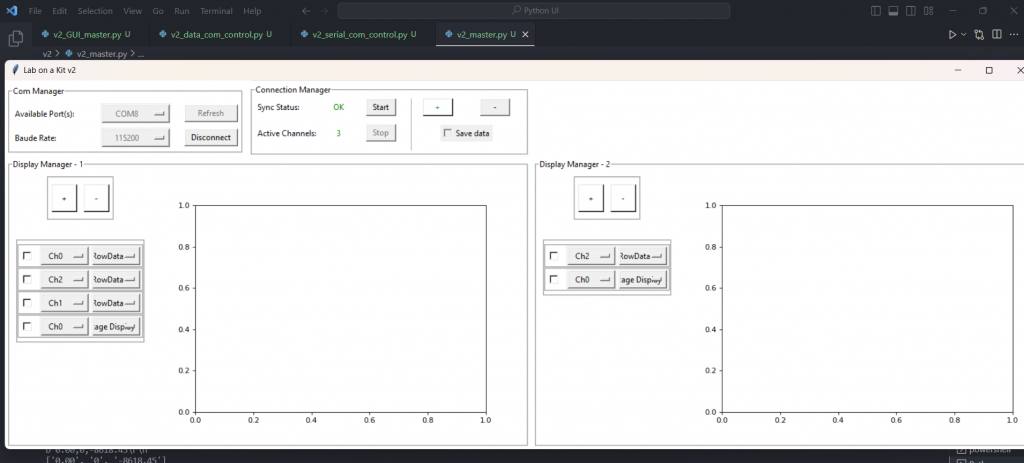
This week we upgraded the UI a little by adding the feature of letting the user add or delete the amount of graphs they want on screen. This is version 2, while version 1 can still be used. Version 1, which was previously shown, now has a start/stop function, and can write to the Arduino using a text box. We also ordered the final iteration of hardware (PCB) for the board, and are expecting it this week. Stay tuned for more!
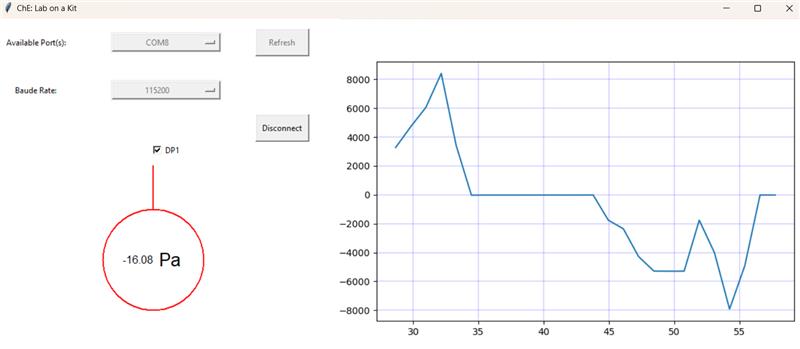
This week we got live pressure readings using the TKinter interface we created. In the next couple of weeks, we plan to expand this to the temperature sensors when they’re connected. We are also planning to develop a rolling table with live readings of all the sensors, so the graph is really there to make it easier to visualize.
We’re also working on getting our third and final iteration up, adding other expansions since we now have a working pin using the second iteration. We plan to finish the project by our hard deadline of March 28th, which still seems attainable, so we can focus on FDR over the month of April. Next week we have QRB 2! Stay tuned for more!
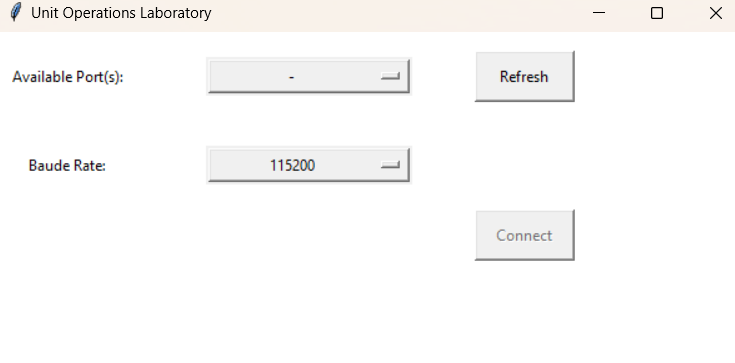
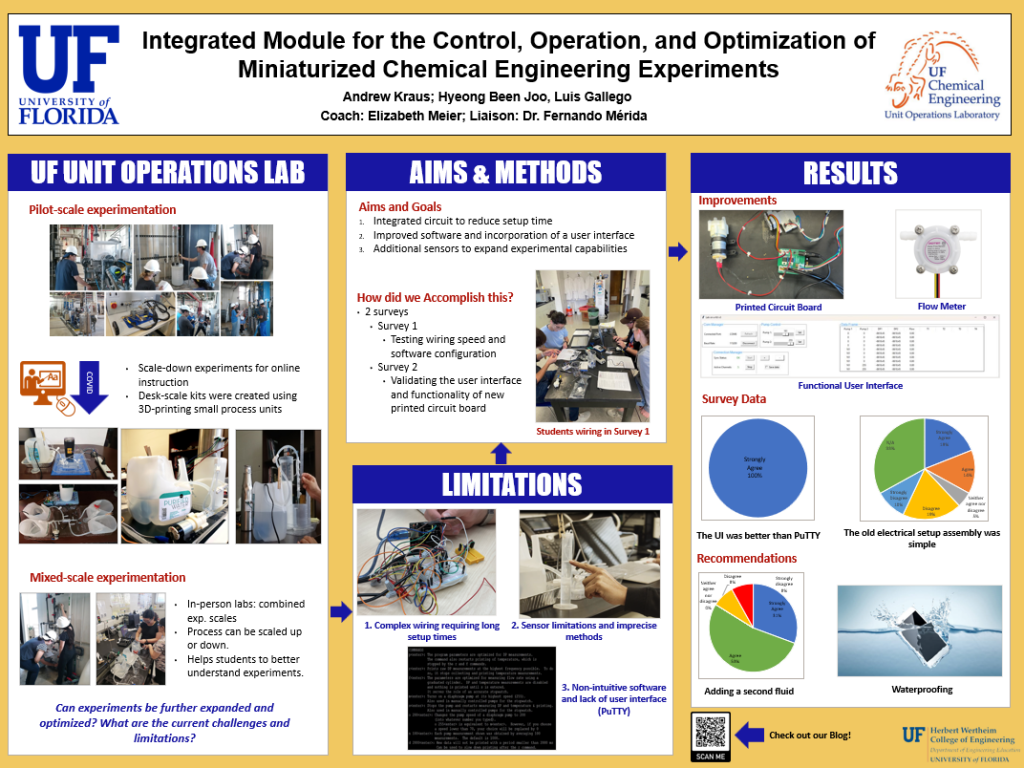
This week we finally finished survey 1! We got 8 responses, which reflects our work over the past couple of weeks. We have gotten figures of our prototype assembly of 2 minutes and 30 seconds, while the older version of the lab kit took students over an hour. We have also begun developing our user interface and decided to use Python, specifically the library known as TKinter. We can use button actions and checkmark actions to communicate with the Arduino, and we can even embed a graph using Matplotlib. Stay tuned for more!
This week we got a plan to do our software, starting with a moving graph which we will treat as a sliding window problem. This will be an exciting approach since this will be the first time the team uses Python to control and read an Arduino. The end goal is to remove PuTTY since the UI is not very friendly in replacing it with something more accessible to the eyes.
Today (2/10) we got our first round of surveys done! We finally tested the old and new kit setups and compared the times. Preliminarily, we decreased the setup time by ~96%, which is huge for the project. We are continuing to test expansions, and at this point, we have inadvertently harmed 3 Arduino Unos. Stay tuned for more!
This week we got our Quarterly Review done and we did really well! We have more of our specifications done in the first month, with 2 or 3 of them needing to be reviewed by a survey, which we are conducting on February 10th.
We’ve decided to explore 2 technologies for the user interface. One is the Serial Oscilloscope found by James and he will explore that technology. The other is using Python for everything, even controls, instead of Arduino. We have a lot of work ahead of us, so stay tuned for more!