Blog Posts

QRB2

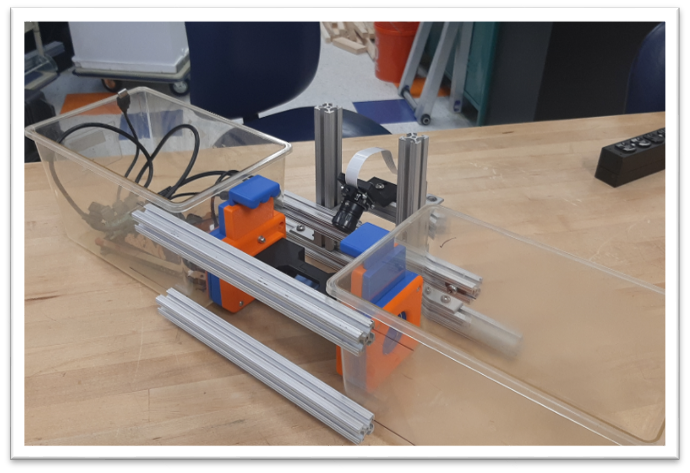
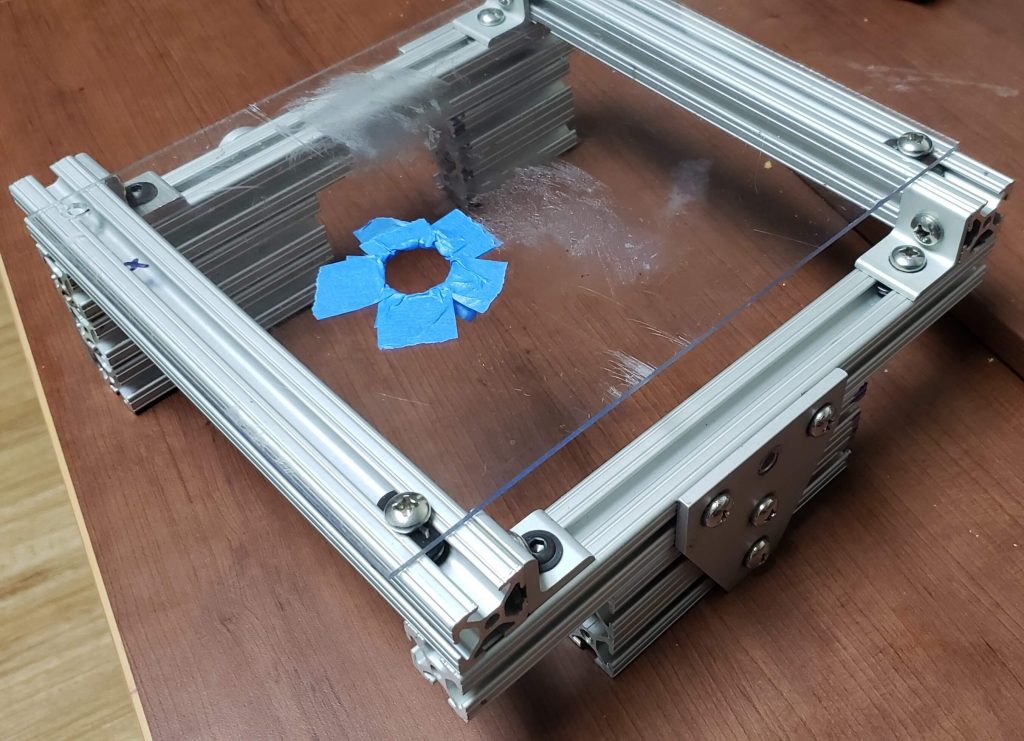
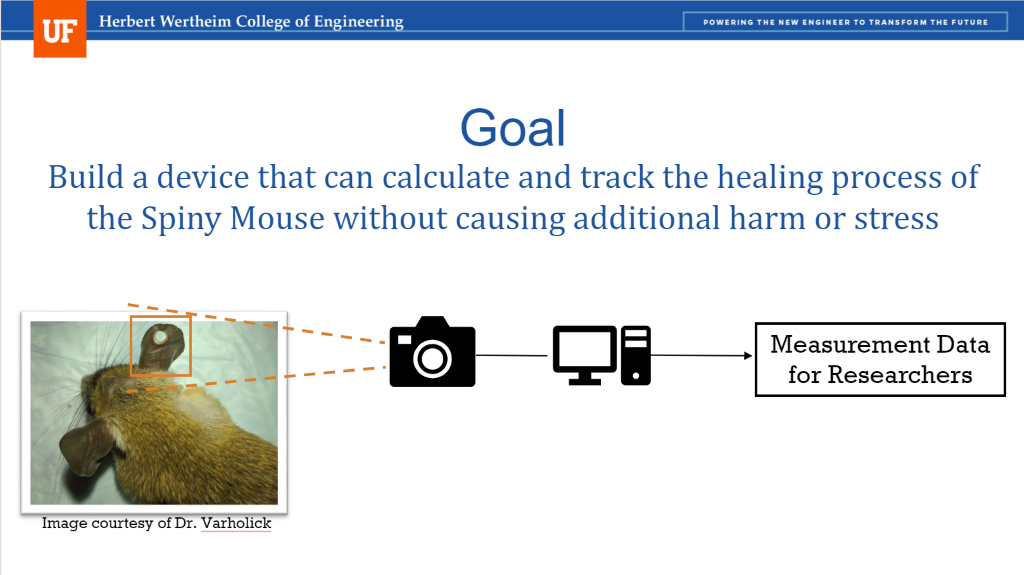
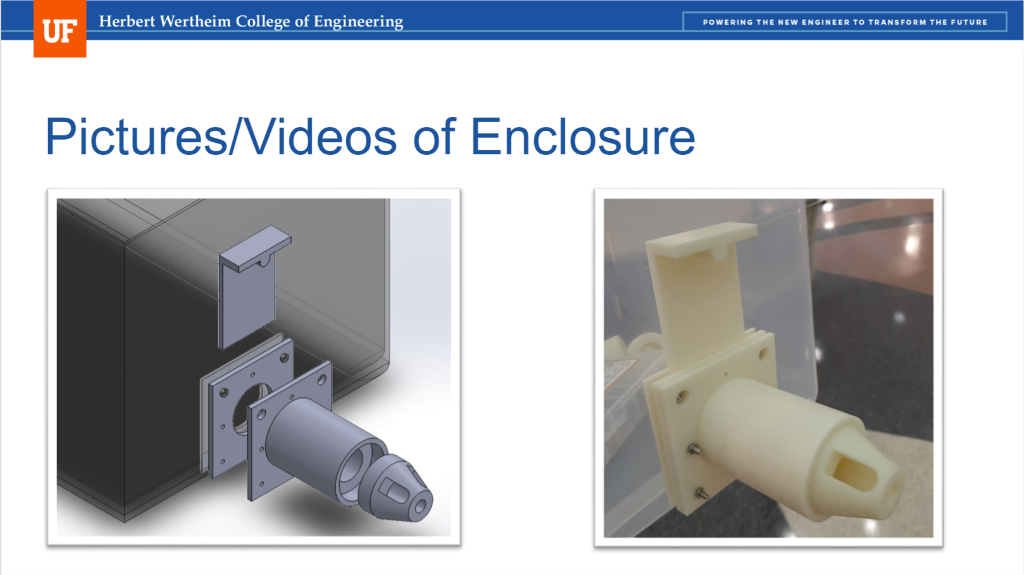
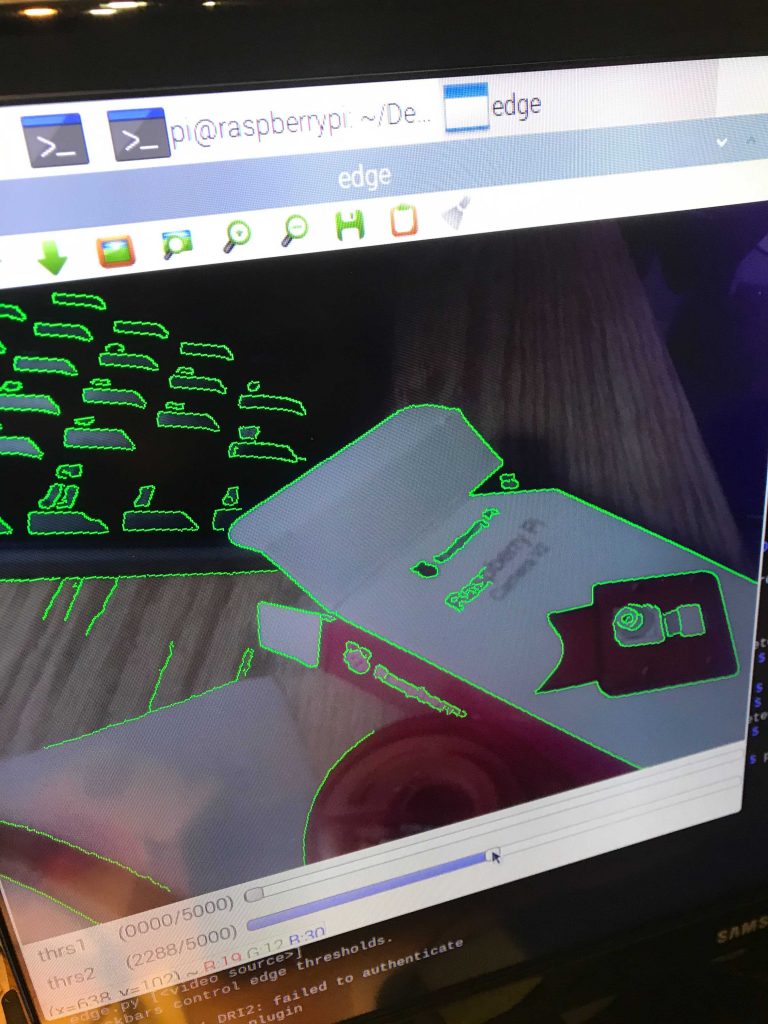
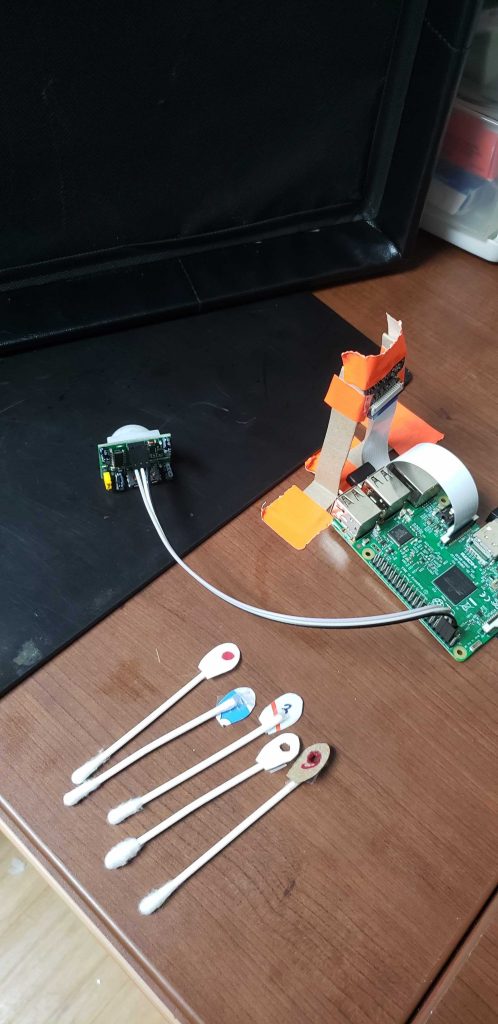
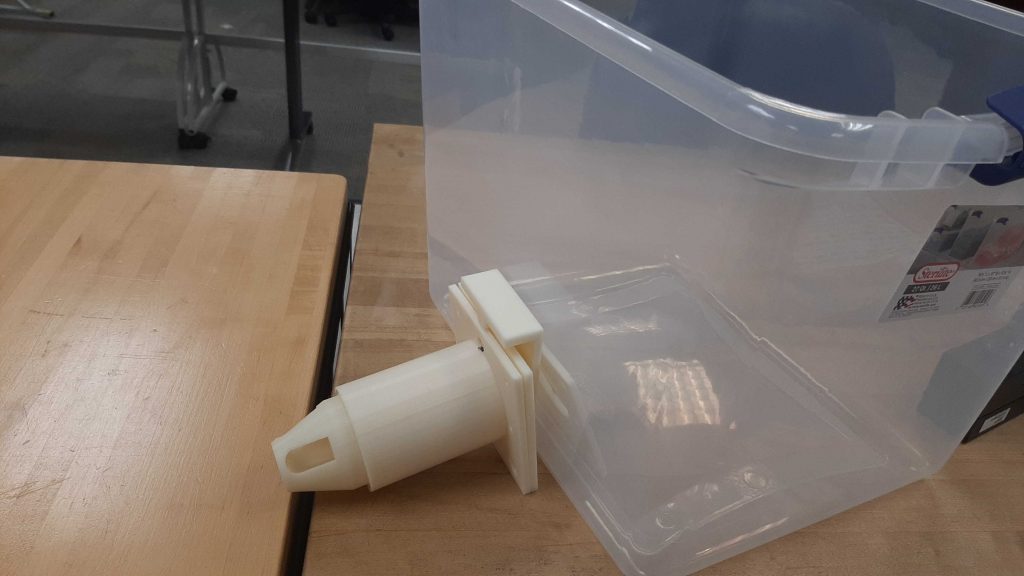
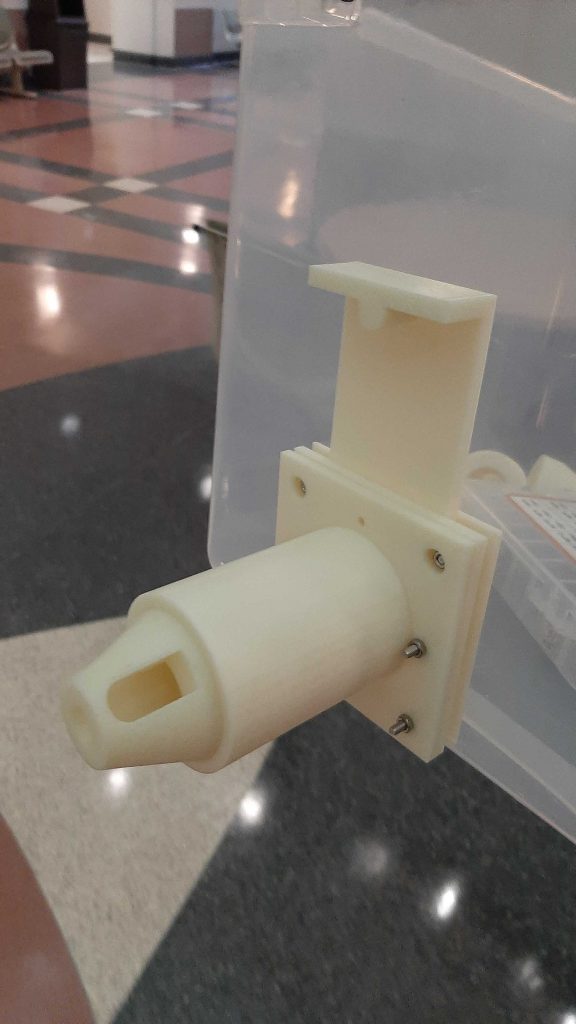
This week team Macro Mice was able to do additional tests with the live mice. This time the mice had newly punctured holes in their ears, which was extremely helpful. While we are unable to show any of these tests due to university research restrictions, we did learn some valuable information. In the tunnel the ear tends to fold over the hole, so we have begun to think about new ways to position the mouse in the tunnel. We also realized that our current camera set up will most likely not be able to see the contrast between the ear hole and mouse body, since they are so close in color. We have purchased IR cameras to help mitigate this. We will continue to aim for calculating the ear hole of the mouse to give the researcher a better estimate of the mice regeneration process. Right now, we see that the reference object has to be around the same size as the hole because if the difference between the object and reference is large, the proportion used to calculate the area does not work as well. On the physical side of the prototype, we are also taking observations made during the first full test to modify the enclosure. By testing new window angles and adding reference geometry for the camera, we hope to increase the visibility of the earholes for better data collection. 

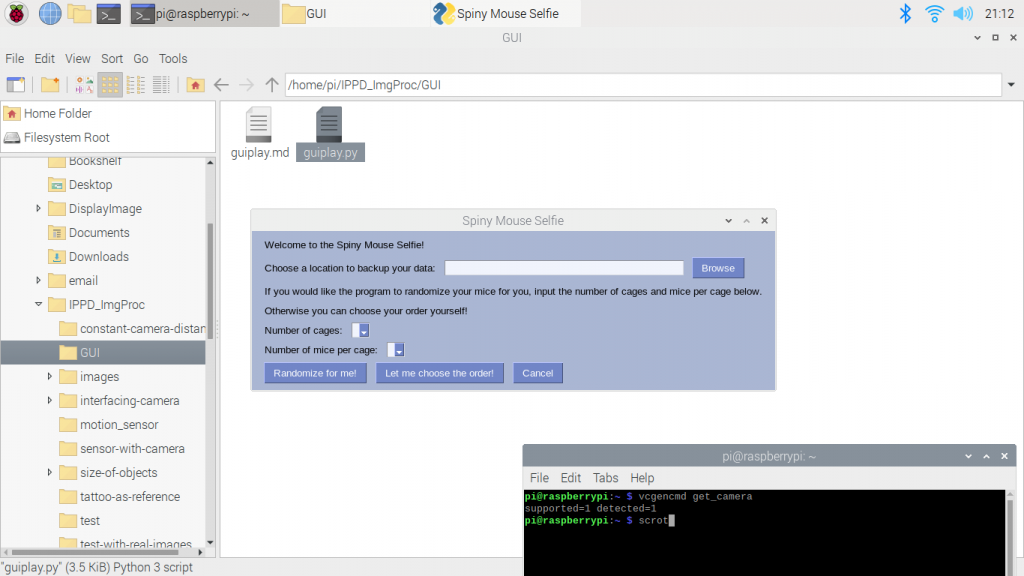
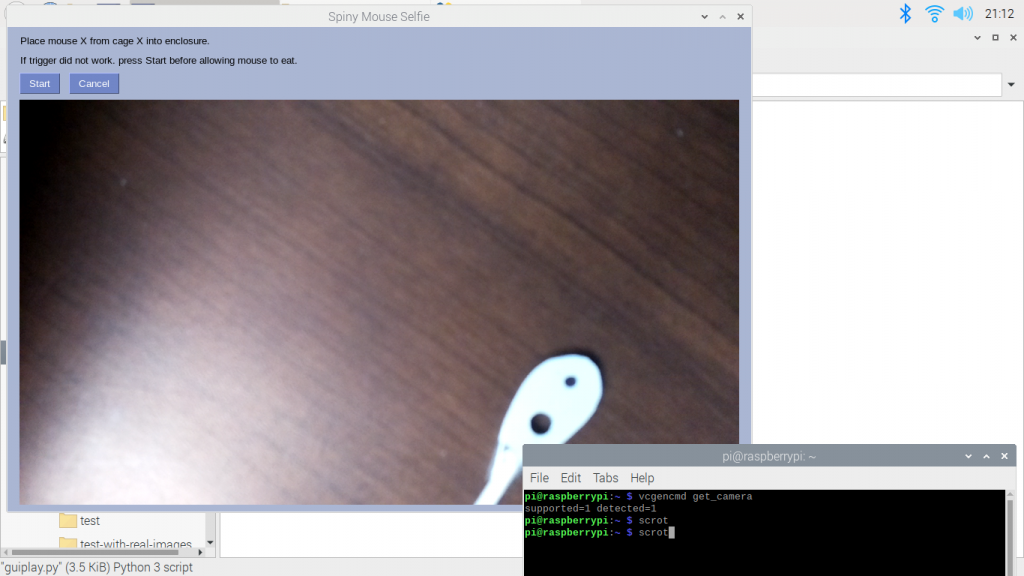
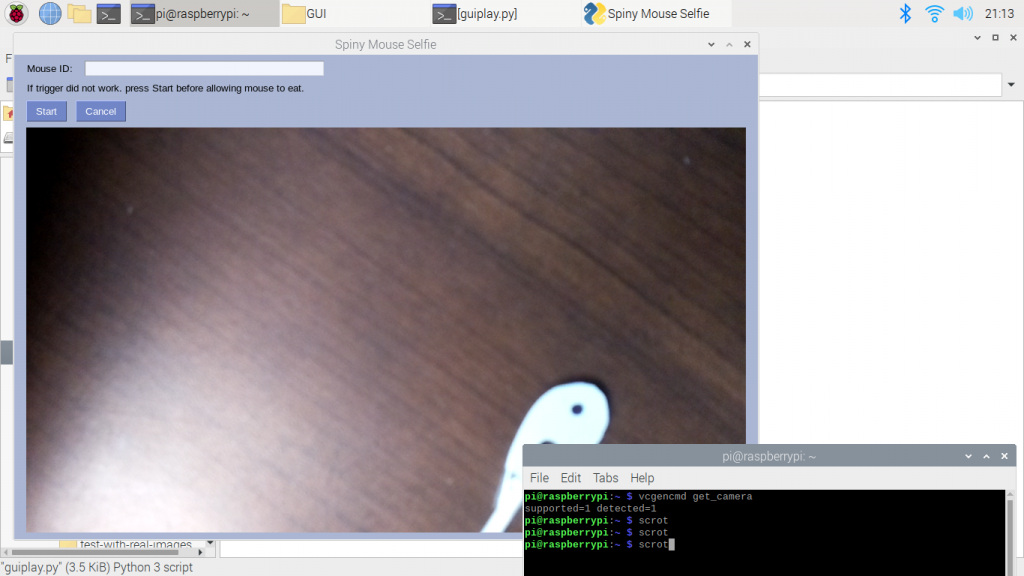
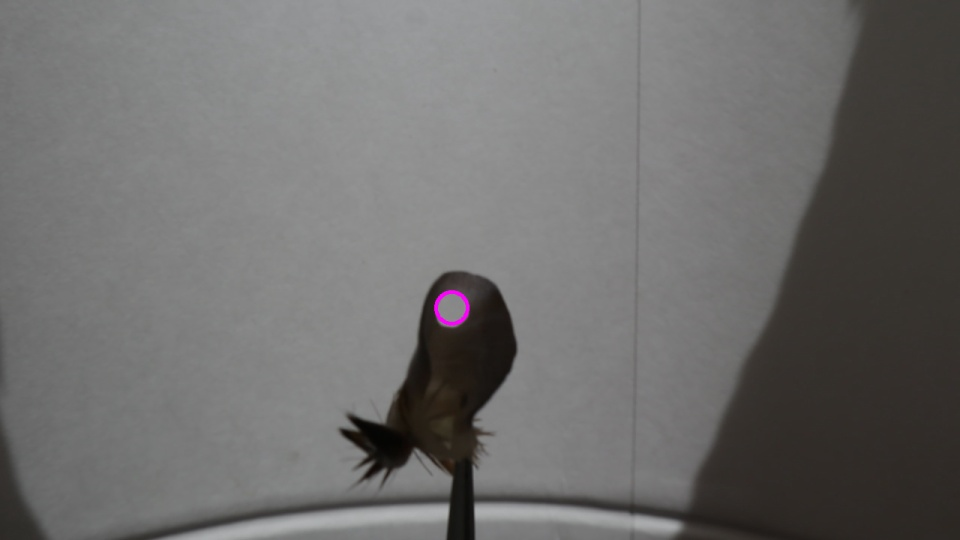
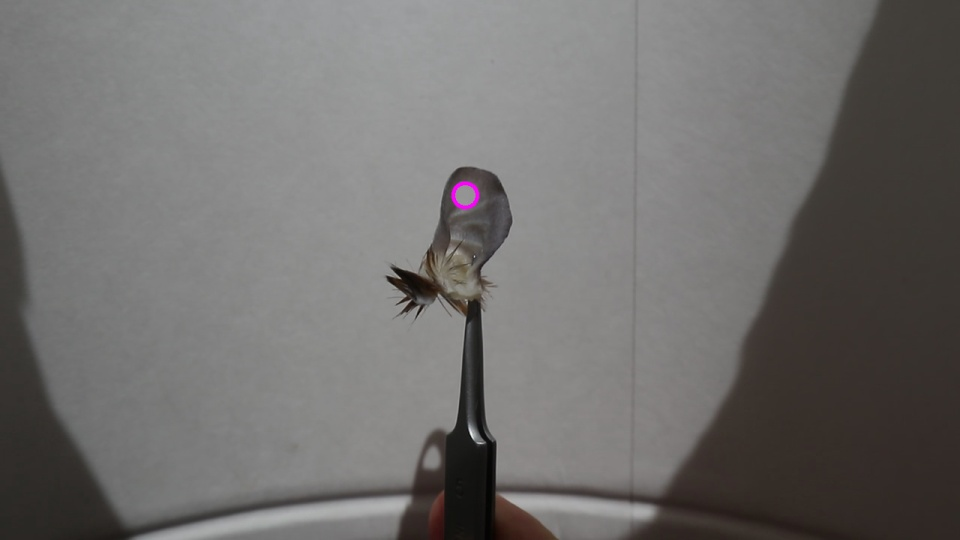
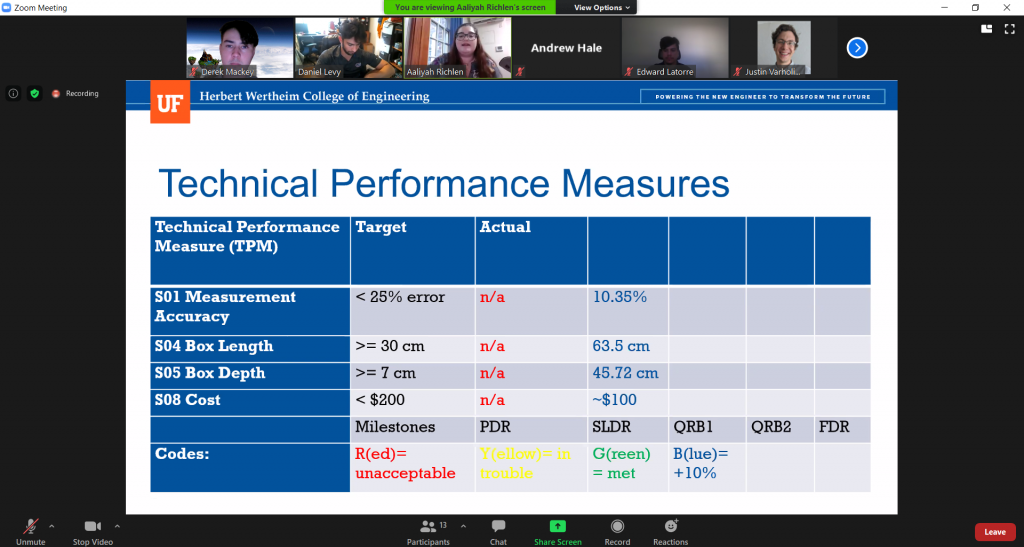
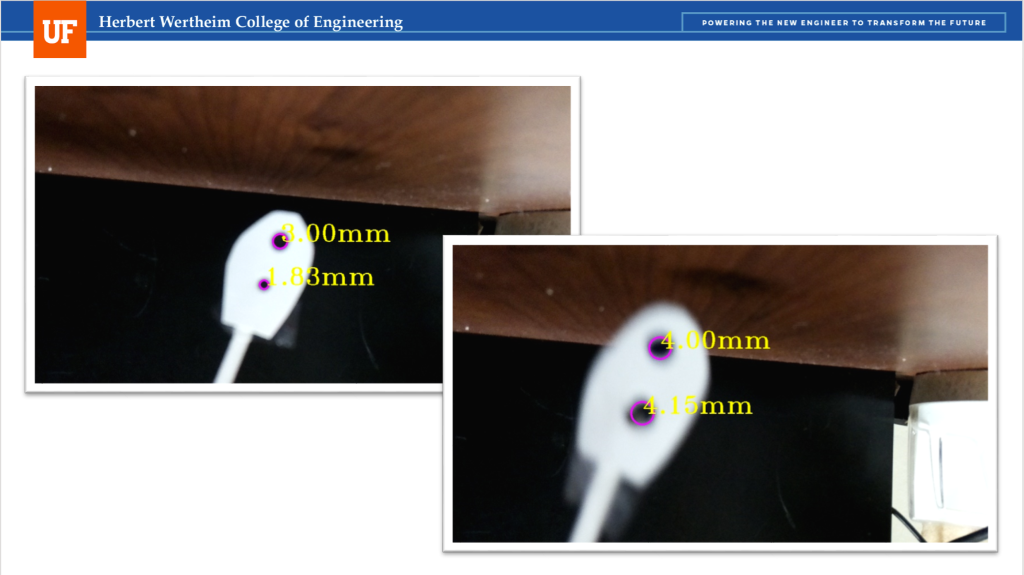
We also had our QRB2 this week. It gave us a chance to show our current prototype to multiple professors on campus and get some feedback on our setup. They mostly recognized the problems we had already identified but they gave us the useful idea that when we create our own videos with the severed ears, we should use a similar colored background. Check out some screenshots from our presentation below! 

Tagged as: ,

A Rough Protoype!

This week we were able to connect our electronic components to our enclosure and make a rough prototype. While we do have video of the mice walking through it, we are unable to show it publicly due to research regulations. However, this is what our rough porotype looks like! 

For our image processing algorithm, we are going to be finding the area of the mouse’s ear hole by pixel rather than length. We do this by finding the contour or outline of the reference object and the ear hole, then using a OpenCV function called contourArea that finds the area within the contour. The function returns the area in pixels so once we use the reference object with known measurements, we can create a proportion that can be used to find the area of the ear hole. It works well with the test ears we have been using, and we will soon be gathering actual footage of the mice in the enclosure in the conditions the researchers will use.  

Some Setbacks

This week the software team had issues with camera quality and lighting. Because of that, we are not as far as we would like to be, but this has not put us behind yet. In addition to that, we are in the process of figuring out a new name for our device, at our liaison’s request. Any ideas would be greatly appreciated! 

On the hardware side things have been slow this week due to our mechanical engineering student needing to focus on an exam and other academic responsibilities. Despite this, a new version of the window component was designed, printed, implemented, and found to be too small for the mice. Due to the nature of working with live animals, this component will be a goldilocks scenario, and we will continue to pursue the size and shape that are “just right”. 

Pieces of a Prototype

One element of the project that we spent a lot of time on was our GUI for our program, so it makes it easier for researchers to use. The program starts off by asking where the researcher would like the data saved and how many mice they have. Then, the user can pick for the program to randomize the order of the mice for them, or they can choose their own order. A new window then opens either asking for a specific mouse to be run or a textbox that where the user can input the mouse. The user can then click start to start the camera or wait for the sensor to start the sensor. The video feed is then shown in the GUI. Check out some screenshots below! 

Using the pixels per metric ratio, we were hoping to use OpenCV to be able to recognize the hole in the mouse ears and use some thresholding so we could count the number of pixels that comprise the ear cavity. Getting the program to only recognize the hole has been more difficult than expected and will require a lot more work.  

We’ve also made progress on the behavioral unit this week! After multiple iterations of testing, we finally have a completed behavioral unit that has been delivered to our liaison for further testing. Going forward, we are planning to combine the Selfie System with the Behavioral Unit in order to begin our first tests of the full prototype. Check out some the images of the behavioral unit below! 

Hardware Update

This week was spent on a lot of hardware building. We printed and assembled the latest version of the enclosure. It includes a clear window that we hope will press the ears flat. We also have created a shelf to place our cameras on, making it easier to run tests faster. Check out the images below! 

Shelf used to increase speed of testing.

Welcome Back!

After a long and well needed break, Macro Mice got back to work. This week the software was adjusted and tested with mouse ears to make sure that our current code can recognize the holes. After a few edits, it was able to. Check out the results of some of our tests below! [Warning: the next images contain mouse ears detached from the mouse head.] 

Additionally, we have been hard at work making new versions of the behavioral unit in response to the feedback from the two previous prototypes! Below are some in progress screenshots of the CAD models. 

SLDR and End-of-Semester

Macro Mice finished the semester strong. We presented the current state of the Spiny Mouse Selfie during our System Level Design Review. We did not receive any feedback, so we think we’re on the right track. We plan to continue into break and the next semester by improving our prototype. Check out the images from our SLDR presentation below!

Latest on the Selfie and SLDR Draft

During our Prototype Inspection Day presentations, we were given the wonderful idea of tattooing our reference object to the mouse ear. After consulting our liaison, we found out that this is possible and has been done before. Because of this, in the next iteration of our selfie system prototype, we ran with this idea and our prototype improved greatly. Currently, it works like this: the PIR motion sensor starts the program upon detecting movement. The camera turns on and send live video feed to the image processing program. A frame is extracted and if two circles are determined, the first circle, the tattoo, and the inputted diameter by the user, is used to calculate the diameter of the second circle, the hole. Each usable frame is saved as an image with the measurements for the researcher to use. Once five usable frames have been determined, the program ends. So far, we have received mostly positive results from the method. Check out our system below! 

Sample output of the current prototype of the selfie system

In other news, we presented our System Level Design Review Presentation for review from our peers. This will be our last presentation for the semester and a chance for sponsors across different projects to critique our design. We received mostly positive feedback from our peers and will incorporate their comments into the next iteration of the presentation before the official presentations next week. Check out some of our presentation below! 

Slide explaining the goal of our project.
Slide showing the enclosure prototype

Prototype Inspection Day Feedback

Earlier this week, we presented our current prototype for feedback from selected judges. Most criticisms surrounded around our selfie system. Some suggestions given include using multiple cameras, using video instead of images, using multiple sensors, and using mirrors. Some of these suggestions seem more likely to work and be useful, such as using video instead of individual images. One suggestion that was quite different than expected was somehow tattooing the original hole size so we could measure the regrowth. While this doesn’t seem likely, it did introduce us to tattooing the scale to the mouse’s ear, so they are on the same dimension. 

Working Prototype

This week, Macro Mice has been busy developing our prototype for the upcoming Prototype Inspection Day. On the software side, we set up the positioning for our different components, made “mouse ears” out of cardboard to test with, and started testing our program. The outputs are not correct now, but we are working on making them better. We are preparing demos that include showcasing sensor functionality and using Raspberry Pi camera and OpenCV to perform live edge detection with trackbars to adjust thresholds and sensitivities. We have also 3D printed and assembled the behavioral equipment. Check out the images of our progress below!