Blog Posts

How we’re Using 3D Printing

3D printing: a world of possibilities | KISS
https://images.app.goo.gl/g6bRE8reEDztBXbm9

3D Printing or additive manufacturing is an emerging manufacturing method that allows people to create complex structures and features previously impossible to create with other methods. Essentially, a thermoplastic material gets pushed through a hot extruder and is deposited onto a flat bed. As the thermoplastic is extruded through the hot-end, it melts to a stringy, almost liquid state. When it contacts the bed and the hot-end moves away from it, the plastic rapidly cools and becomes a solid – similar to how a hot glue gun works, except this one is attached to a robot. The hot-end moves in the x, y, and z directions to make a part based on the inputted design from the user.  

uPrint SE Plus Desktop 3D Printer | Compact and Professional 3D Printer
https://images.app.goo.gl/afdaPAmbrcoKiFjSA

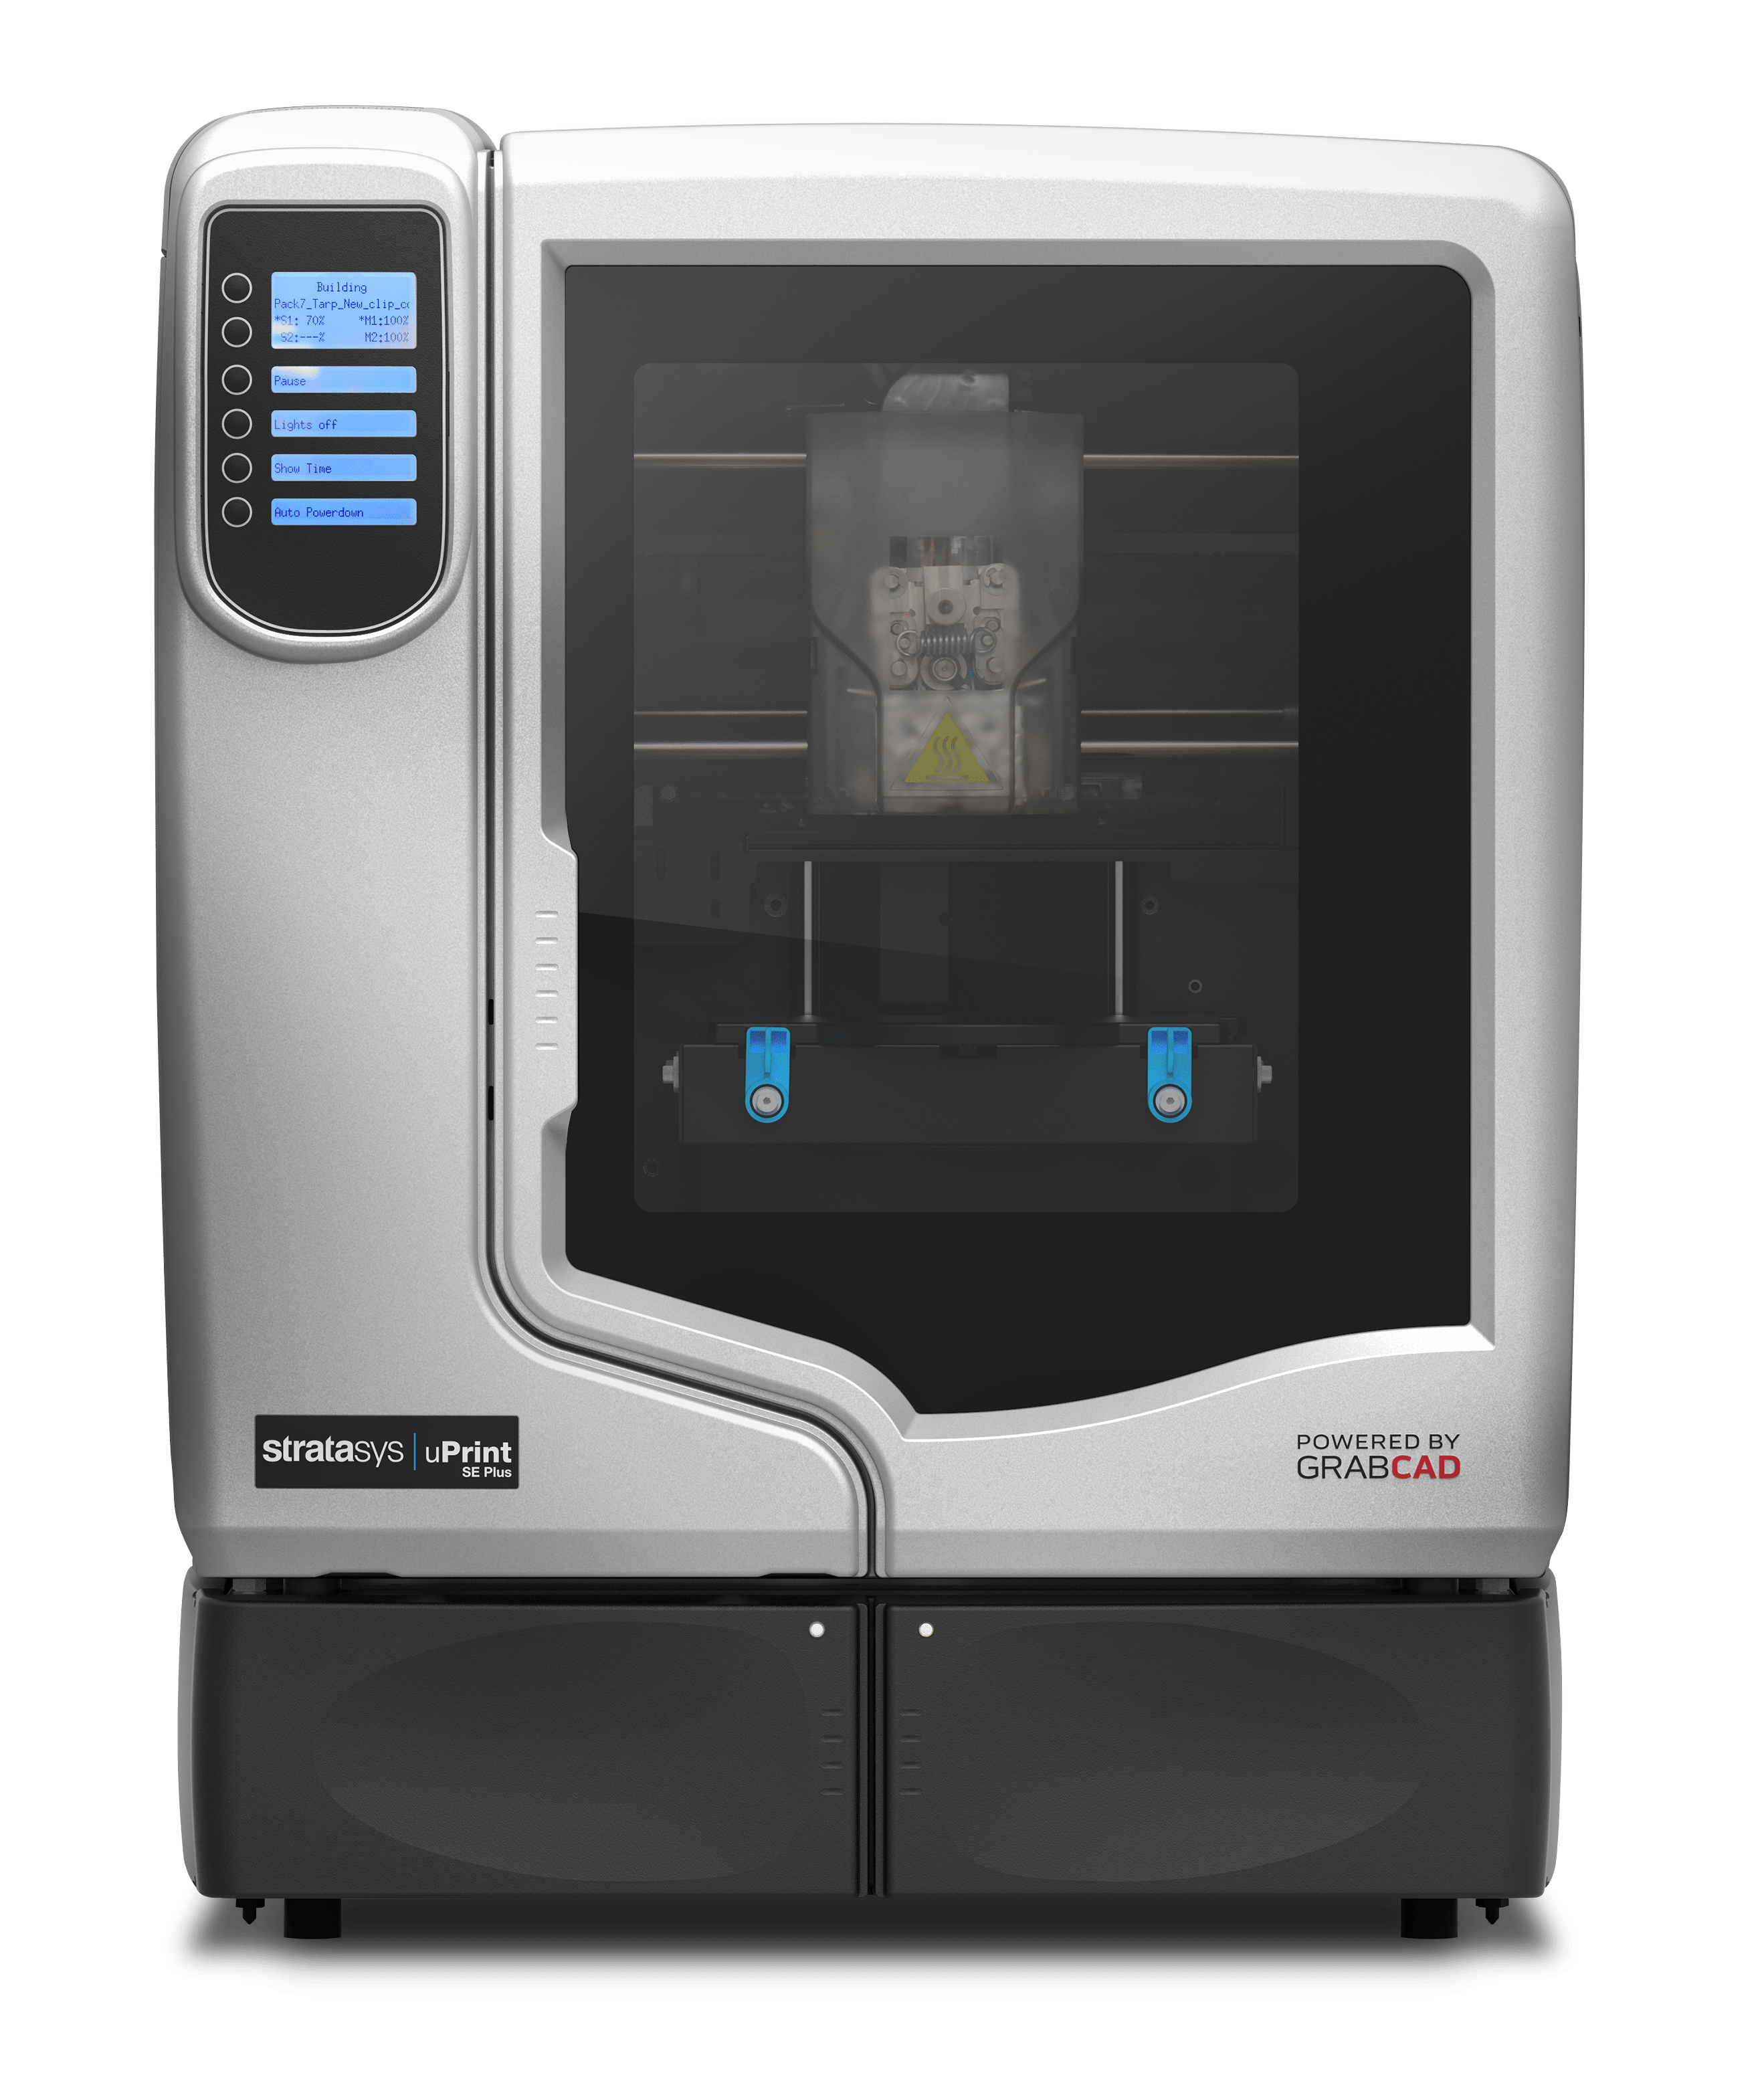
We are using 3D printing extensively in our project to rapidly iterate and prototype. We can use one variation of a design one week and have another design ready for the next week. Whereas if we were to manufacture it traditionally, the lead time between prototypes would be extensively increased. We use 3D printing mostly in our autonomous charging prototype since it is undergoing the most iterations. However, we are also integrating 3D printing into other subassemblies of our project to reduce manufacturing times and to create more complex designs.  

Connecting the Dots

Team Power House is excited to start connecting and testing our different subsystems in the coming weeks! Pictured above is the newly built second iteration of our structure with the linear actuators wired up for testing. Having this structure completed, and the associated tests completed, is crucial to the progress of this project as we will begin installing all of the other components into the structure very soon. The new structure is sturdier and has increased modularity for testing and transport purposes. Once the structure has been fully tested, the team will begin installing all the other subsystems such as the charging system, the dock, and the robot itself! The charging system is nearing completion and is currently being tested. Similarly, the robot control component is in the works as scripts are being written to autonomously control the robot. Progress on all these componets will allow us to begin system integration. System integration is when we will connect all componets and begin testing two or more componets together and eventually the entire system. We look forward to seeing our progress come together and produce our final result!

Keep the “motors” turning

Our testing rig to test hardware and code.

The team has entered into a month solely focused on development. So far we have been able to do a complete redesign and build of the structure frame. After testing the first frame, we determined that we needed it to be more rigid but also more modular. With the structure frame built, the next part of the structure design will be to build a ramp for the structure and a dock for the robot. The charging team has been hard at work improving the CV algorithm and code that will make the charging unit move. As of now the team has been able to control all the motors necessary to move all axis of the charging unit. As with all new technology, the team has to learn about how to program a robotic quadruped. The robot is now able to perform certain tasks autonomously after a user command. Stay tuned for more next week! 

1st Milestone of the Semester: QRB 1

Working hard on wiring the x,y,z motors for the charging apparatus.

We made it to our first major milestone of the semester: Qualitative Review Board #1! Our team presented to a panel of judges on the status of our project and our plan moving forward. Although we have a lot to do before the semester ends, the judges were overall very pleased with the progress we have been able to make.

The biggest feedback we received is to think through our testing plan carefully and to make sure that we have a specific reason and goal in mind for what each test is to accomplish. It is crucial our team remains focused and ensures that everything we do brings us closer to delivering a working prototype at the end of this semester. The team is in full “build mode” so that we can start testing as soon as possible!

We’re Back!

Team Power House is glad to be back! Right before the Fall semester ended, we were able to build the structure frame and motorized door. The picture shows us in the process of making the magic happen! We are eager to get started this semester and hit the ground running. 

In addition to building the structure, the team is also working hard on designing and building the autonomous charging system, learning the autonomous robot control capabilities, and designing the user interface of the remote control app. 

Stay tuned throughout the semester to watch our weekly progress!

Finishing Strong!

Team Power House had a strong finish to the Fall semester as we presented our System Level Design Review to our classmates, coaches, and liaison engineers from FPL. We are thrilled to unveil all of our hard work and respond to valuable feedback and questions from our audience. We were able to show many videos on our progress thus far within this presentation. These included videos of our structure in Solidworks, the team testing the robot, the charging mechanism prototype, the computer vision system actively functioning, and our current design for the user interface. Two pictures of the prototype videos are highlighted in this post!  

After this, our next steps include fully finishing the charging mechanism design, building the physical structure prototype, and brainstorming how we can merge our user interface with one made by Ghost Robotics. For the charging mechanism, we hope to finalize the way in which it will move towards the quadruped. We will consider parameters such as loading, distance to move, and the probability of the robot hitting the charging with its legs when finalizing this design. Before building the structure in the IPPD lab, we will plan out our cuts of the wood and ensure we have all the correct material. From here, we will use the lab tools to first assemble the frame of the structure and then continue from there. Finally, in future conversations with Ghost and FPL, we hope to gain insight as to how we can design a user interface to merge with the pre-existing one. We do not want to re-invent the wheel, and we hope to use this added time to optimize our other components even further. We look forward to continuing with our progress in the coming month and in the next semester! 

Post PID

With Prototype Inspection Day now in the rear view mirror, the team is working hard at taking the feedback into consideration and making adjustments to our overall design. There were three major takeaways that we gathered from Prototype Inspection Day: 

  1. When designing an autonomous system, it is good to have a manual override in case the systems go haywire. This is both for safety reasons as well as for performance/reliability. The team is currently assessing how to incorporate this feedback in the major autonomous components of the design.  
  2. There was some concern whether our plywood structure would be stable enough unless we built a reinforcing wood frame. After some discussion, the team decided that it made sense to build a wooden frame for the structure. 
  3. Several judges commented that when you have a complex project, the best approach is to start testing as early as possible with multiple iterations. This was a great reminder to the team that we don’t have to get everything right the first go-around! 

This goes to show you that no matter how much time or effort you put into a project, the team is always prone to miss something! The more fresh eyes or outside opinions that one can get, the better! It’s a crucial part to ultimately ending up with the best final product. 

Road to Prototype Inspection Day – Our Prototyping Plan

A Guide To Prototyping — Stage Four Of Design Thinking
Source – https://careerfoundry.com/en/blog/ux-design/design-thinking-stage-four-prototyping/

For our the prototype inspection day, Team Power House has much to show! We have been working hard on designs, and we will be presenting one large prototype in hopes of acquiring useful feedback. We plan to present our charging system, our user interface wireframes, the computer vision (CV) system, and our physical structure with a moving door. This week, our team is currently building all of the physical components and refining the software based ones.  

For quicker and easier prototyping, the structure will be made of wood. While wood is not the most appealing material, we hope to achieve a high visual prototype in this regards. This week, the team will be focusing on cutting and assembling each piece of plywood in a way which provides the most stability of the structure. We decided that for the charging system, we would 3D print some of the components so that we would have full customizability. These will be assembled with the ordered parts to produce a useable charging system for Prototype Inspection Day. The user interface and the computer vision system will both be presented virtually through a shared screen function. The goal with these is to immerse the viewer into our system, as if they were actually in the CV system or using these high level wireframes! We hope to gain feedback from the judges on the user-friendliness and readability aspects of our user interface.  

All of these items will be used, or developed, for our final prototype in the spring semester. We wanted to ensure we used quality parts up front so that we would not waste money or have to majorly rework any components. We hope to continuously improve upon our prototype and our final design through these demonstrations! 

What is Computer Vision and How are We Using It?

The Era of Computer Vision Is Here - IndustryWired
Source – https://industrywired.com/the-era-of-computer-vision-is-here/

We live in a world where we are bombarded with electronic devices that require daily charging.  Plugging and unplugging these devices has become so second nature that we can practically do it with our eyes closed. However, imagine if every time you placed your phone on your nightstand,  you had to design a system that plugged your phone in without you physically touching any part of it. Hard right? Essentially, this is what we have been tasked to do in our project: design a system that allows for the robotic quadruped to autonomously (without any physical human intervention) connect and disconnect to an external power supply when it enters and leaves the housing structure, respectively. This is one of the most challenging, but also exciting, aspects of the project!  

After much deliberation through the brainstorming and concept generation phases, our team unanimously agreed that using computer vision to facilitate the charging of the robotic quadruped was a must. What exactly is computer vision? In the following paragraphs, we address this very question as well as its specific applications to our project.  

As described by computer vision expert, Jason Brownlee, PhD, “Computer Vision, often abbreviated as CV, is defined as a field of study that seeks to develop techniques to help computers “see” and understand the content of digital images such as photographs and videos.” Going back to our phone example, if you have ever seen a phone that can be unlocked by showing your face to the camera, this is a great example of an application of computer vision. Simply put, the goal of computer vision is for computers to understand and extract useful information from the external world via images and videos.  

Our team plans on using the Open Source Computer Vision Library (OpenCV) to develop a program that detects the location of the charging port on the robotic quadruped. By understanding where exactly in 3-dimensional space the charging port on the quadruped is relative to the charging plug, we will be able to adjust the position of both the quadruped and the charging plug in order to align and insert for a successful charging connection.  

Preliminary Design Report

After two weeks of intensive preparation, we finally gave both our Preliminary Design Report and the respective presentation to the FPL liaisons. The PDR was a 53-page culmination of our ideas, research, and individual contributions over the last 8 weeks. In this document, we comprehensively detailed everything we’ve learned about the problem and how we’re going to approach it with our solution.  

We took the feedback from the PDR Peer Review presentation seriously and incorporated it into our practice sessions. The actual presentation was 12 minutes longer than the peer review, so we had a lot more time to be thorough with our technical explanations. The FPL team were extremely impressed by our hard work and design ideas, which was very pleasing to hear especially since we put in a lot of late nights to develop these. 

Moving forward, we’re going to start the most exciting part of this project, the development process. Everyone will be taking the next few weeks to write code, design 3D models, and plan out wiring diagrams for our intelligent housing structure. Although we must keep the details of this process under wraps, we’ll be sharing some background information about the general concepts and technologies we’re using for our design through these blogs. Stay tuned!